Wednesday 29 January 2014

How to {Easily} Clean Silk Ties

I don't mind taking silk ties to the drycleaner; it only happens now and then (not bad for a husband who wears a tie 6 days a week), so $5 to have a tie cleaned is good value in my view. Unless the 'now and then' turns into 5 or 6 ties at once. Shannon Lush (author of the fabulous stain removal book 'Spotless') has a fantastic alternative to professionally dry cleaning silk ties. I discovered it on this radio interview. Shannon is a guru in Australia when it comes to stain removal. I thought that I would put her advice to the test (because if it didn't work I could still take them to the dry cleaner!).

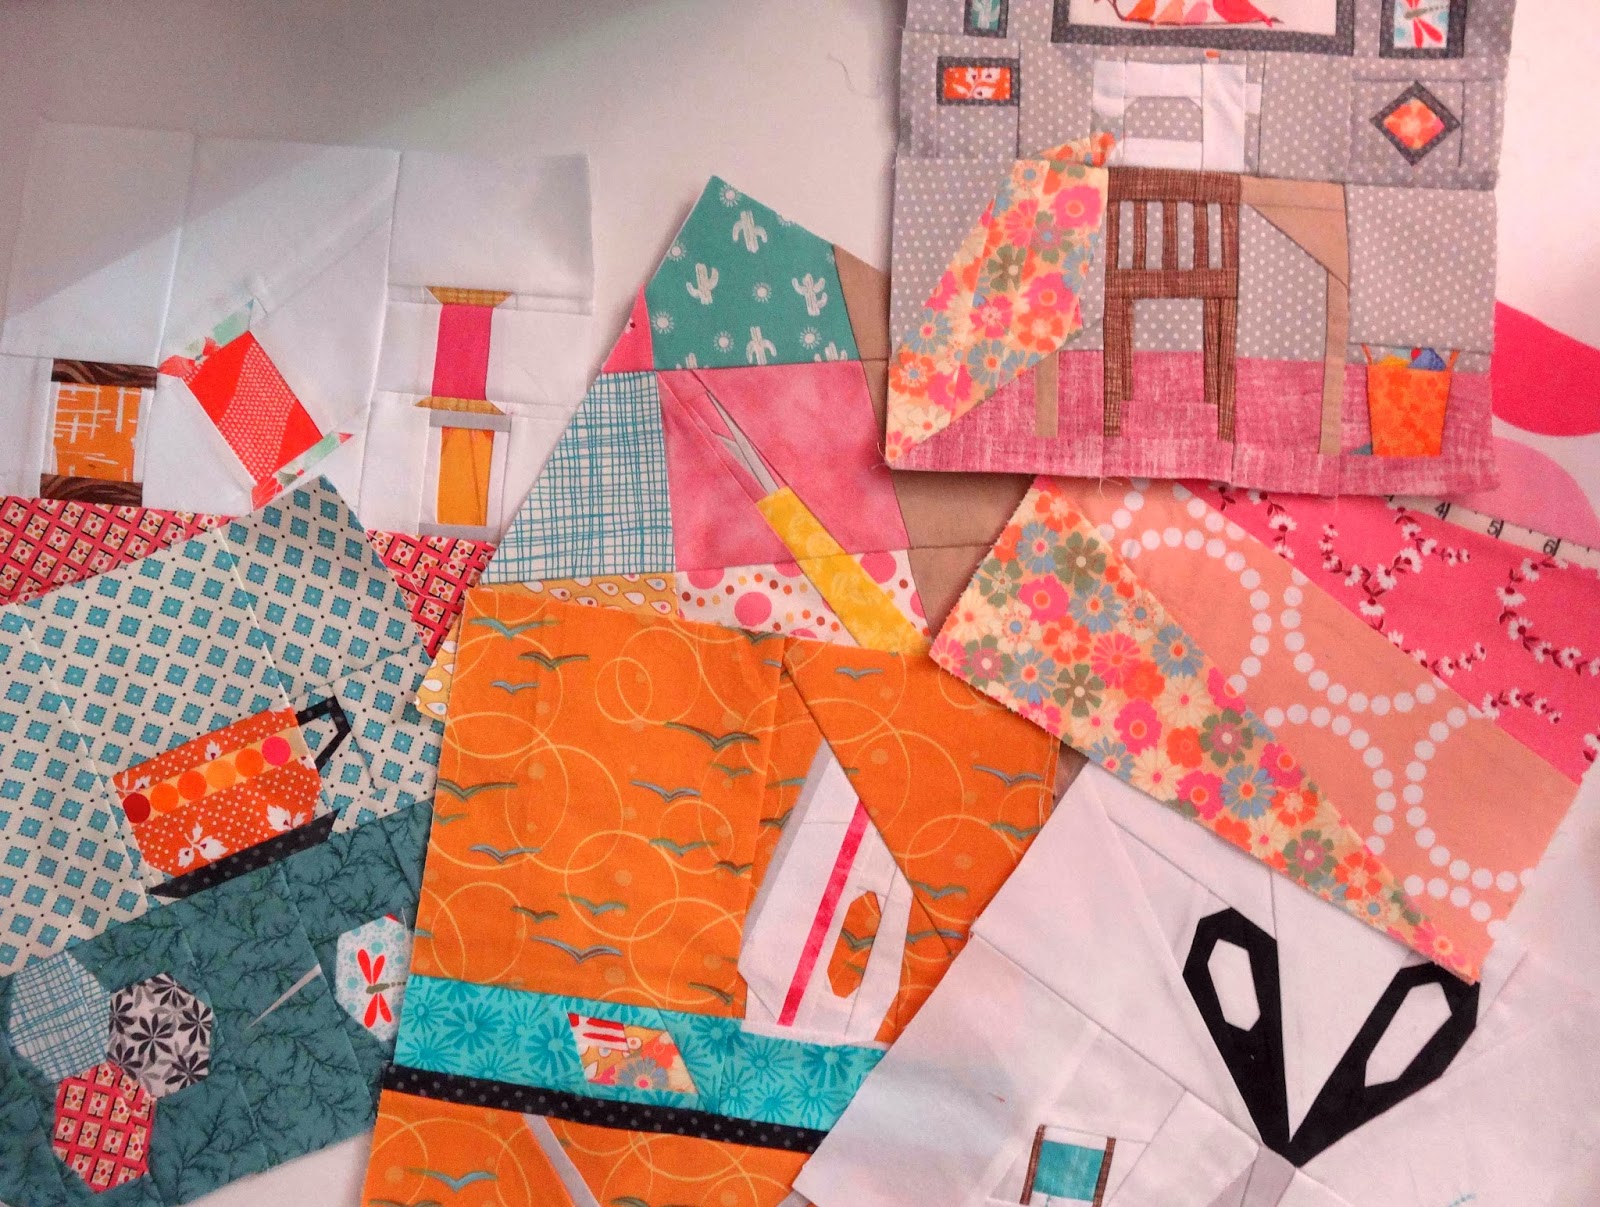
So here are some of the ties that will be taking part in my DIY cleaning trial.
Most of the ties had small spot stains on them.
Except this one. These grease stains appeared after the tie was loaned to a friend who enjoyed a kebab while wearing it. A kebab that must have been very juicy!

This is what Shannon recommends:
  1. Buy a bottle of cheap shampoo (the cheaper the better - go for a non branded product - to ensure that it contains little or no fruit oils).
  2. Wash the tie in a solution of shampoo (just a little bit of shampoo!) and blood temperature water. If the tie has spot stains, dab a little shampoo on it and rub the stain.
  3. Rinse the tie in blood heat water (the same temperature as it was washed in). This is the most important part - test the water temperature on the inside of your wrist. If you use cold water, the change in temperature can make the tie go wrinkly.
  4. Lay it flat on a towel in the shade to dry (not in the wind - it will wrinkle!).
I laid my clean ties on a bath towel inside.
Look at how beautifully these ties cleaned up!
Look at that - no kebab juice!
    If you need to iron the tie, put a clean cloth between the iron and the tie. I gave each of the ties I washed a gentle iron underneath a piece of white cloth.
    Shannon highly recommends spraying silk ties with Scotchguard. Any food can then be wiped off with a paper towel.

    I am impressed with the results. Cleaning silk ties at home is simple and easy!

    Saturday 25 January 2014

    Quilt Improv

     
    Lucie Summers, designer of the fabric line Summersville, has written a book! It is called Quilt Improv and a blog hop has been organised to celebrate its debut. The blogs that are participating are fantastic - lots of fun to be had!

    One of the participating blogs is Fresh Lemons, where Faith and her 4 year old son used Lucie's improv techniques to make a mini quilt. For a favourite Panda bear!
    Even a 4 year old can help make a quilt! Photo from Fresh Lemons
    I thought this was a fantastic idea and asked my four children if they would like to do something similar. Three out of four said yes. Jed wasn't keen. He is 12. And the cricket is on tv.

    First of all, out with some of the scraps. Not all of the scraps, as there was no need to cover the entire floor. Everyone chose their fabric bits and started placing them together (on our very attractive carpet) in a sort of square shape. As I am feeling the cushion cover vibe at the moment, our improv squares will be made into cushion covers.

    Here are the fabrics during the creative layout process.
    Eli's work in progress.
    Lily's fabric selections and layout.
    Zoe's 'draft' cushion cover. Summersville is her absolute favourite line of fabric (no, really it is!). She searched through the scraps to hunt it down.
    After a bit of sewing, trimming, more sewing and trimming we had some completed squares. They range in size from 18" square to 22" square. Fingers crossed I'll be able to find cushion inserts that big.
    Eli's finished improv cushion top. I just noticed that he has included some orange Summersville in his top!
     
    Lily's improv cushion top.

    Zoe's 'Ode to Summersville' cushion top.
     I think they turned out great! I really liked the fusion of mathematical and creative processes that this activity provided. It was enjoyed by all three of my children, who range in age from 4 to 10 years old.

    Now my children are thinking about how they want their cushion covers quilted. This will be a great opportunity for Zoe to do her own quilting. Great practice for the lap sized quilt she is working on!

    Friday 24 January 2014

    Postage Stamp Cushion


    When I was designing the butterfly quilt for Christine @ Once Upon A Quilt's scrap bag challenge I was inspired by this project.

    It is designed by Kati who blogs over at from the blue chair. I proceeded to cut all the squares needed for my butterfly quilt and then went in search of the Pellon product that Kati used. Unfortunately it was not yet available in Australia (and not easy to find anywhere else either!), so I went ahead and made the quilt without it (because I'd already cut out all those 1 3/4" squares. What was I to do?).

    I had been in correspondence with Kati and shared my woe at not being able to use the Pellon Stick-N-Washaway for all those little squares. As we were soon to flit off to the US for a holiday I mentioned that I would look for some Pellon while there. Kati very kindly offered to send me some of the Pellon that she had spare. Sure enough, when we arrived in the US a very lovely package from Kati was waiting for me. Kati included an extra surprise - some lovely scraps!
    Kati's scraps. Soon to feature in another project or two!
    I have been itching to try the Pellon Stick-N-Washaway, so when I had lots of pretty 2.5" squares left over from my Scrappy Trip Along quilt (that is on my Finish Along list!) I seized the opportunity. Kati's pixel pillow uses 1.5" squares, but I found that her tutorial also worked well with 2.5" squares.

    First of all I laid out my squares on the sticky side of the Pellon. It helped to peg the Pellon to my cutting mat. I used pegs, as my Clover clips are the small size and not quite large enough for this task.
    Then I began sewing by carefully folding over each row.
    This is such an effective way of achieving perfectly matched seams.
    When all the vertical rows were sewn I used a seam ripper to open up all the seams before sewing each horizontal seam.
    Using the Pellon Stick-N-Washaway made this cushion cover come together extremely quickly. I do have one tip: wipe your needle after every few rows of stitching. I found that the needle got a bit sticky about half way through constructing the cushion cover. And snapped!
    The most exciting part was yet to come - washing away the Pellon! I filled my hand basin with a little water and let the cushion top sit for a few minutes.
    This product is amazing (can you tell I've never used a stabilizer that dissolves before?!!). Right before my very eyes the Pellon began to disappear. Amazing.
    Disappearing Pellon
    After a few rinses (and a bit of agitation where the seams met) the Pellon was all gone. Out on the clothesline for a few minutes to dry (it's summer here!) and then inside again for an iron.
    And then some quilting! Soft loops for such pretty fabrics (from the 'Papillon' range by Moda).
    A simple envelope back and it's finished.
    I am really pleased with my new cushion!
     Linking up to Finish It Up Friday at Crazy Mom Quilts.

    Friday 17 January 2014

    drop and give me twenty 2014

    February 1-28, 2014 


    In addition to participating in Katy's Finish Along 2014 I am also committing to Beth's Drop and Give Me Twenty for the month of February. Because I am clever.

    By quilting for twenty minutes each day for Drop and Give Me Twenty I will be able to finish off my projects for the first quarter of the Finish Along. Or at least some of them. One of them. I'll take any project finish because I'd like to start a humungous quilt for me.

    I participated last year and loved every second of it. Beth is hilarious fantastic. Do yourself a favour and meet her.


    So, here is my official commitment:

    I, Jeneta, am joining Quilting Hottie Haven's third annual DaGMT event, and pledge to quilt for at least 20 minutes every day of the month of February, 2014. In doing so I hope to finish my current projects so that I can start some more and I think Beth Helfter is brilliant for coming up with this concept and inspiring me to join.

    So, who wants to join me?

    Alzheimer's Sensory Cushions


    I love the phrase 'one good turn deserves another'. Imagine the ripples of goodness that could be made if every person in this world showed a kindness which was then passed on. I know that many of you do and I am grateful that I seem to be surrounded by you! Last year (let me remind you that it is January so 'last year' doesn't sound so bad!) when Zoe was in need of some 5" squares of yellow fabric for a quilt she has underway we applied the 'one good turn deserves another' motto.

    The quilt that Zoe decided to make required twelve, 5" charms in each of seven colours. The twelve fabrics needed to be different. As we starting selecting from the fabric we already had, we discovered that we didn't have much yellow, and we certainly didn't have anywhere near twelve different yellow fabrics. Rather than purchasing a whole lot of different yellow fabrics only to cut a 5" square out of each, I proposed a swap with the lovely members of the Rainbow Fabric Fun Facebook page in Australia. The ladies were extremely generous and sent us some lovely yellow 5" charms. Two of them asked for no fabric in return, but that we do a kindness or good deed for someone else.

    Our kindness became these sensory cushions for Alzheimers Australia. Sensory cushions can be expensive - up to $100 - for sufferers that don't have someone who can make one for them. We used the guideline here, as well as images we found after a Google search.
    Google search results!

    Zoe sketched our a design on paper and then set about making it a reality. I was impressed that she thought about the texture of fabrics, the brightness of colours, gender neutrality and used what we already had. Zoe's design included sliding beads, zips, pockets, stretchy pulls, buttons, ties and a smoochy section to be used like a stress ball. I helped with the zip. After all, I feel like I have really only conquered zips in the last few years.

    The top loop is from a pair of Zoe's shoes that were worn out. We were about to throw them away so Zoe harvested the diamante strap to use on her cushion.


    Our finished cushions. Zoe's is on the left, mine is on the right. Zoe's turned out much better than mine. How wonderful that we can always learn from the youth of today. Particularly when you have taught them all that they know. Not that I am old.

    Tuesday 14 January 2014

    Finish Along 2014

    I am excited to participate in the Finish Along hosted by Katy of The Littlest Thistle.
     

    Finish Along 2014

    The idea is to help participants to finish projects that have been hanging around for a while.

    I have a few of those.

    So, here is my ambitious list for the first quarter of the FAL. I figure that I might as well go big, as then there is at least the possibility that I will complete anything. And if not, it can roll over into the next Finish Along quarter.

    So here is my list:

    1.     A London themed cushion cover using these fabrics. My brother in law and his wife are moving to the US after living in London since they were married. They are coming for a visit to Australia on their way and arrive on 11 Feb.  So as soon as the kids are back at school I'm on to this!
    2.     This scrappy quilt top. I originally put this together with charm squares I received in a swap group. These are the squares that I wasn't going to use in any other project (not all of them are ugly, but most of them are!), so I thought they would be great to practice my free motion quilting on. It will then live in the boot of the car.

    3.     My Aneela Hoey 'Cherry Christmas' quilt top has been sitting in my unfinished box for over a year. It's a smaller lap size quilt, so this one should be a quick finish. Once I find something to back it with.
    4.     My Kate Spain 'Cuzco' scrappy quilt top. The top is two thirds complete and just needs another 8 blocks added before it is ready for quilting and binding.
    5.     Another blue, green and purple 'Scrappers Delight' that I recently blogged about here. I am making another one because I made way too many blocks for the first one. The extra blocks just need to be trimmed and then sewn together.
    6.     My scrappy trip along quilt. Most people made these a year or two ago. I'm only getting around to it now! My 16" strips are sewn together in pairs, so there is still a fair bit to do on this one. Though scrappy trip alongs are quick, right?
    7.     My 'And Sew On' quilt top. I got behind and still have two blocks to make before I can sew this one up.
    8.     This one's pushing it, but a couple of years ago I participated in a polaroid block swap. I made my blocks, swapped them with others and that's where it ended.
    So that's my list. To start with. I'm excited!

    Easy Origami Gift Bag

    I have a really long list of projects that I would like to make. Some are big and time consuming and some are small and quick. Last year I saw these origami fabric bags popping up all over the place (well, mostly on Pinterest!) and I finally sat down to make one. Because they looked quick.

    They are easy peasy! Two fat quarters and a bit of ribbon are all that is needed (and, of course, a sewing machine).

    There was no point in me doing a tutorial - there is already a fabulous one at the crafty mummy.

    I think these would be wonderful for gifting home made treats like biscuits, toffee or popcorn balls.

    I know this origami bag design has been around for a long time. Have you made one?

    Thursday 9 January 2014

    Quilt: Scrappers Delight


    I have a football mum friend that I wanted to make a quilt for. Our sons have been playing in the same football team since they were five years old. Over the years I have noticed that my friend is quietly considerate and sensitive to the needs of others. She always goes the extra mile in every task she undertakes and is a wonderful example to those around her. I don't think she even realizes what a good influence she is on others. My friend is a single mother who supports her family without complaint. She is the first to volunteer when others are unable to fulfill their commitments, she is supportive and encouraging and is always happy!

    I wanted to acknowledge her in some way - to thank her for the lovely person that she is. She is a 'behind the scenes' person - something with a lot of hoo hah would have made her feel uncomfortable. So, I decided to make her a quilt.

    Even though I have known her for years, it was always in the context of football training, managing the team, coordinating rosters and game days. I had never been to her house and didn't know what colours or style she preferred. So I sent her an email telling her that I would love to knit her a pair of socks and what colour(s) would she like? I always tell the truth. I really did want to knit her a pair of socks, except I am a terrible knitter so it really wasn't possible! Her response to my email were the colours blue, green and purple.

    Sunday Morning QuiltsAnd so a blue, green and purple quilt was made. Because a quilt can keep a person just as warm as woolly socks! I used Amanda Jean's Scrapper's Delight pattern from her book Sunday Morning Quilts. I love that book!

    I used more blue than purple and green (simply because I wasn't sure I could pull off the colour combo!). I really enjoyed delving into my scraps for this quilt. I also cut into some fat quarters to ensure I had enough green in the mix.

    I dropped off the completed quilt to my friend at the end of November (requesting that it be put under her Christmas tree!) - just before we left for our holiday. I was overjoyed when I received an email from my friend at Christmas time. She loved the quilt.
    The pieced back.

    I love making things for others. I love the feeling that I receive when I see their joy. I have learned that my handmade gift doesn't need to be perfect (though I do try!); people are touched when they realise that you have spent time making something for them. I love that in this way I can let them know that they are important to me.

    Foxy

    I had the good fortune to test this paper pieced fox from my favourite pattern designer Kristy who blogs over at Quiet Play. The pattern will be available in Kristy's pattern store on Craftsy soon, most likely in February. Have a look at her other patterns - they are wonderful. Kristy is also responsible for the Sew Kitschy BoM which started this month (each pattern is free for the month and it's not too late to join!)

    My photo of Foxy is not quite accurate - the background is brighter and the orange is not quite as bright as shown. I think my camera struggled with the contrast between the two colours.

    This pattern has  a few fiddly bits, namely the face! I find that paper pieced patterns that have super large pieces or very small pieces have greater 'messing up' potential. I rank patterns according to how much I am able to daydream while making them. If I am able to daydream during the entire process then it is an easy pattern and suitable for a beginner. If I have to concentrate solely on sewing up the pattern then I categorize it as an advanced pattern. I think Foxy lies somewhere in between!

    So, what shall I make with my Foxy?
    Related Posts Plugin for WordPress, Blogger...