Tuesday, 29 July 2014

mable monkey

Lily loving her Mable.
I am so pleased to have finished Mable monkey. She is the third Mable I have made. The pattern pieces for all three were cut out at the same time (over a year ago!). Two were completed, but Lily's Mable just didn't get finished. I think she got a bit lost under the mending pile next to my sewing machine.

I am pleased that I have finished something on my Finish Along list for the third quarter of the year, but even more pleased that Lily is delighted with her very own Mable monkey.

Finish Along 2014
Incidentally, isn't it a curious way to spell 'Mable'? Mable came from a Softies book that I absolutely love.
Softies Only a Mother Could Love - ed. Jess Redman and Meg Leder
The softies in this book are adorable with a slight quirkiness.

Here is Lily's Mable monkey hanging out with Eli's Mable.

And here is Mable's tail after I reattached it. It lasted about 45 minutes the first time around. Lily made the yoyo underneath the button. She also stuffed all of Mable's body parts.
So, no more Mables for me for a while!

Tuesday, 15 July 2014

hula hoop rug


One of the activities on our school holiday list this hula hoop rug. It is lovely and soft - and easy to make - though I think it is more of a mat than a rug. More pot-holder-for-a-bottom size than floor rug size.
 
We put the hula hoop rug on our list after seeing this on someone's Pinterest board. Who wouldn't be inspired by an activity that repurposes worn out t-shirts that are only good for the bin and uses a hula hoop to do it?
Photo from Spoonful.
We didn't actually have many t-shirts that weren't good for anything else but cutting up. I managed to round up two, which we used for the 'spokes' on the hula hoop. For our weaving we cut strips of jersey fabric purchased at the op shop for a nominal amount and then sewed the ends together to form loops.
I would recommend using the largest hula hoop you have (or can borrow. Call in any circus act contacts you have.) and making sure that it is not one that is made of reinforced cardboard. Only use the solid hula hoops, as anything else will bend with the tension of the 'spokes'. Also make sure that each 'spoke' goes through the centre of the hula hoop. You can see in the photo above that the middle of the 'spokes' should actually be a bit higher. If the centre of the 'spokes' is not in the middle it will reduce the maximum size of your rug.

The tutorial we followed had great step by step instructions. The tutorial uses a 33" (84cm) hoop; we used a 23" (59cm) hoop to yield a rug that is 16"(41cm) in diameter.
The rugs very quickly took shape.
Progress slowed a little as the weaving circle grew bigger.

 Keeping the 'over, under' pattern was not as easy as it sounds. Particularly when two, ten year old girls are chatting and giggling!
 I was concerned that we might not have enough strips of jersey fabric for weaving. The tutorial suggests a dozen t-shirts, but as we made our own loops out of yardage we just had to estimate.
 I didn't need to worry. We had so many that we will be able to make at least one more rug.
 The finished rugs.
 This is an excellent school holiday activity. It isn't one that can be undertaken on the spur of the moment, but if you plan ahead and collect your t-shirts (and source a hoop) you will have one day of the holidays sorted!

Thursday, 10 July 2014

surprise mail

 I had some lovely mail arrive recently. I was very fortunate to win a set of Aurifil threads in a random drawing as part of the Blogger's Quilt Festival recently hosted by Amy's Creative Side. I had totally forgotten about them, so it was a complete surprise when they arrived. Packages are always very exciting.
After posting my 2.5" squares to my allocated Confetti Swap partners I received 5 squishy envelopes in return. Squishy envelopes are just as exciting as packages.
Australia Post has released a lovely new stamp booklet containing the floral emblems of each Australian state.
 I love self adhesive stamps and always carry a booklet with me in my wallet. When I was a girl I remember licking the backs of stamps before sticking them on the envelope. I also remember having lots of sticker books like that too, except they tasted a lot better than the postage stamps (they reminded me of the taste of root beer actually!). Is this how stamps are presented in other countries? Self adhesive stamps in booklets? Just curious.
I also received an extremely unexpected envelope containing these.
Bee blocks. From the Rainbow Bee that I finished a year and a half ago. I didn't receive two of the blocks (though another Bee member kindly made an extra two so I wasn't short) until now!
What's curious is that the stamp isn't postmarked.
 It would have been interesting to know when these blocks were posted so I had an idea of how long their journey had taken. They came from Queensland - on the other side of the country, but I think a year and a half is still beyond the time needed to travel that far. The only clue I have as to when they were posted is the value of the stamp. The cost increased to $1.40 earlier this year.

You are probably thinking that I could just ask the sender. It would also be nice to thank her. Alas! She doesn't appear to be active on Facebook any more.

So, have you had any exciting mail lately? The kind of mail that immediately makes you smile?

Monday, 7 July 2014

Finish Along {Q3}


Finish Along 2014
I made progress on my Finish Along list for the second quarter, but I didn't actually finish anything. I got very side tracked with other sewing projects which, fortunately, I did finish. Mostly. But that's okay - it just means I have lots to choose from when I make my list for the third quarter of the Finish Along.

Want to see it?

 1.  The improv cushions that Zoe, Eli and Lily designed. These are in various stages of progress, but they're only pillows right? Pillows are much smaller than quilts, so I should be able to finish these.
2.  Poor Mable Monkey. She was on last quarter's list and didn't even get looked at, let alone finished. I think she will get done this time; the kids are on school holidays and Lily has started pleading with me to finish Mable. Lily can help me.
3. And because a list is not really a list with only two items on it, my second Scrappers Delight. This is my second because I cut an excessive number of strips for the first quilt!
4.  This one is on the list because I'm a dreamer. My Scrappy Trip Along.
5.  This last one is on the list because I'm feeling the pressure. Lily's Star Wars king single bed quilt. I've done two blocks...

So, these are my lofty goals for the next three months (amongst all of the projects that will pop up along the way. I really do have a concentration span greater than that of a goldfish!).

I love lists. Are you a list person?

Tuesday, 1 July 2014

spoilt

I have been spoilt. My lovely friend Lisa surprised me with this amazing book in the mail. I LOVE it!! Lisa knows that I enjoy paper piecing, but her thoughtfulness extended even beyond one of my favourite quilting activities because...
 Lisa had it signed just for me! And my name is spelled correctly (doing the happy dance)! Caroline is one of the pattern designers and just happens to be a friend of Lisa's. I'm feeling pretty special right now. Like I've just met a celebrity.
This book is absolutely beautiful. The designs and projects are inspiring. And there is a cd rom for printing off the patterns (no bulky paper patterns in a sleeve at the end of the book). Genius!
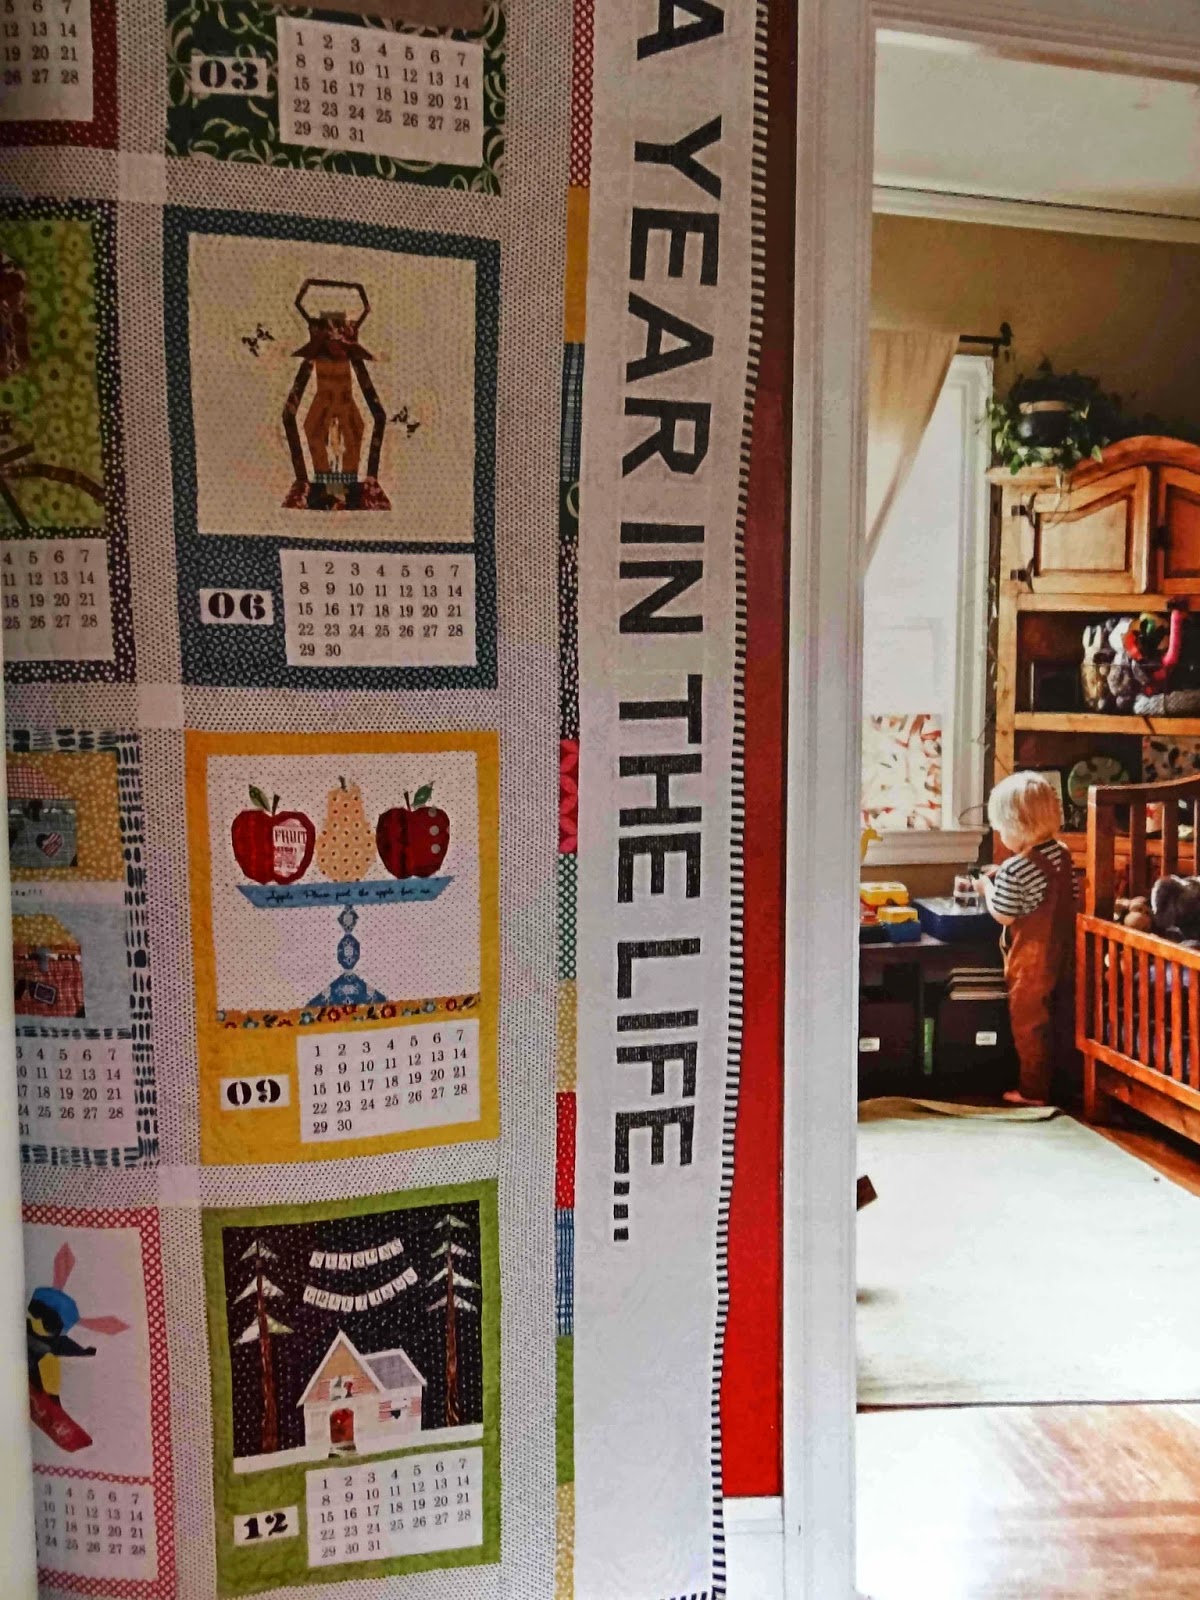
Twelve of the paper pieced blocks are cleverly themed so that they can be arranged into a quilt calendar.
 Or used in a separate project. The full instructions are given for these as well as the calendar.
I have been considering this sewing machine cover.
 And this beautiful Christmas box. Look at that bunting!
 Or perhaps this sweet bag.
 Maybe some cute houses.
Or this adorable round apple pouch.
This book is flawless. If you enjoy paper piecing, or would like to begin paper piecing, I highly recommend this beautiful book. The projects range in difficulty and complexity, ensuring there is 'something for everyone'. There is an extensive introductory chapter on how to paper piece, as well as tips and ideas from the designers of each project.

I will end how I began. I am spoilt!
Related Posts Plugin for WordPress, Blogger...