Showing posts with label gift. Show all posts

Sunday, 5 April 2015

snowball quilt kit {gift}

After seeing this post on Terry's blog I decided that I needed a snowball quilt. It was the perfect 2-for-1; use up lots of scraps while making a lovely quilt.

I chose this layout, as it used the greatest number of scraps in the layout.
Photo from Terry's Treasures blog post.
I don't particularly enjoy the cutting part of the quilting process (though I like it more than basting!), so I knew that if I wanted to ensure that I finished this project I should cut all my fabric first. That meant cutting close to 600 2.5" squares.

No problem. The excitement of a new project always overcomes any less enjoyable aspects of it. I was doing quite well about two weeks after I started cutting. And then cutting 2.5" squares of fabric became complete drudgery.
It was then that I decided that my friend would love one of these quilts too. And it was her birthday soon. So I switched my focus to cutting up squares for her. The timing was perfect, as my initial enthusiasm had started to wane totally gone. A new motivation got me back into gear and I finished cutting 590 2.5" squares from scraps and 45, 6" white-on-white squares two days before her birthday.

This is how I kept my sanity track.
My idea was to gift a snowball quilt 'kit'. I sewed up a sample 9 patch and a snowball blocks.
I popped the components in a box so that my friend could keep her kit contained until she was ready to begin.

The box was a tad small, but everything fitted in eventually.
What do you think? Do you like the idea of quilt kits where the fabric is pre cut? Or are you a bit crazy and love to spend hours cutting up fabric?

Monday, 22 December 2014

gift idea {melty bowl}

 It's been over a month since my last post. Not because there hasn't been anything to share, but because we have been so busy! School finished last week and making teacher gifts was one of the things that kept us busy.

Eli made some melty bowls using Ikea beads, oil spray and a Pyrex bowl. This idea is floating around Pinterest and is a quick, easy and very fun craft project.
 We sprayed the inside of the Pyrex bowl and poured some melty (perler) beads into the bottom.
 Eli pushed the melty beads up the sides so that they were in a single layer.
 We checked to make sure that the top of the beads was fairly even in height all the way around.
And then into a preheated oven (180 degrees Celcius or 350 degrees Fahrenheit) for about 10 minutes.
 When it came out it the melty beads looked fabulous!
Lots of colours and a wonderful texture.
We waited for our colourful creation to cool before taking it out of the Pyrex bowl. We had oiled it well, so it slipped out very easily.
 A bit of a wash with dish washing liquid removed the oiliness on the outside.
And it's done!
While these are obviously not recommended for use with food, they are great for storing bits and pieces like keys or other small objects.
Eli couldn't bear to part with it, so we made a few more to give away!

Tuesday, 14 January 2014

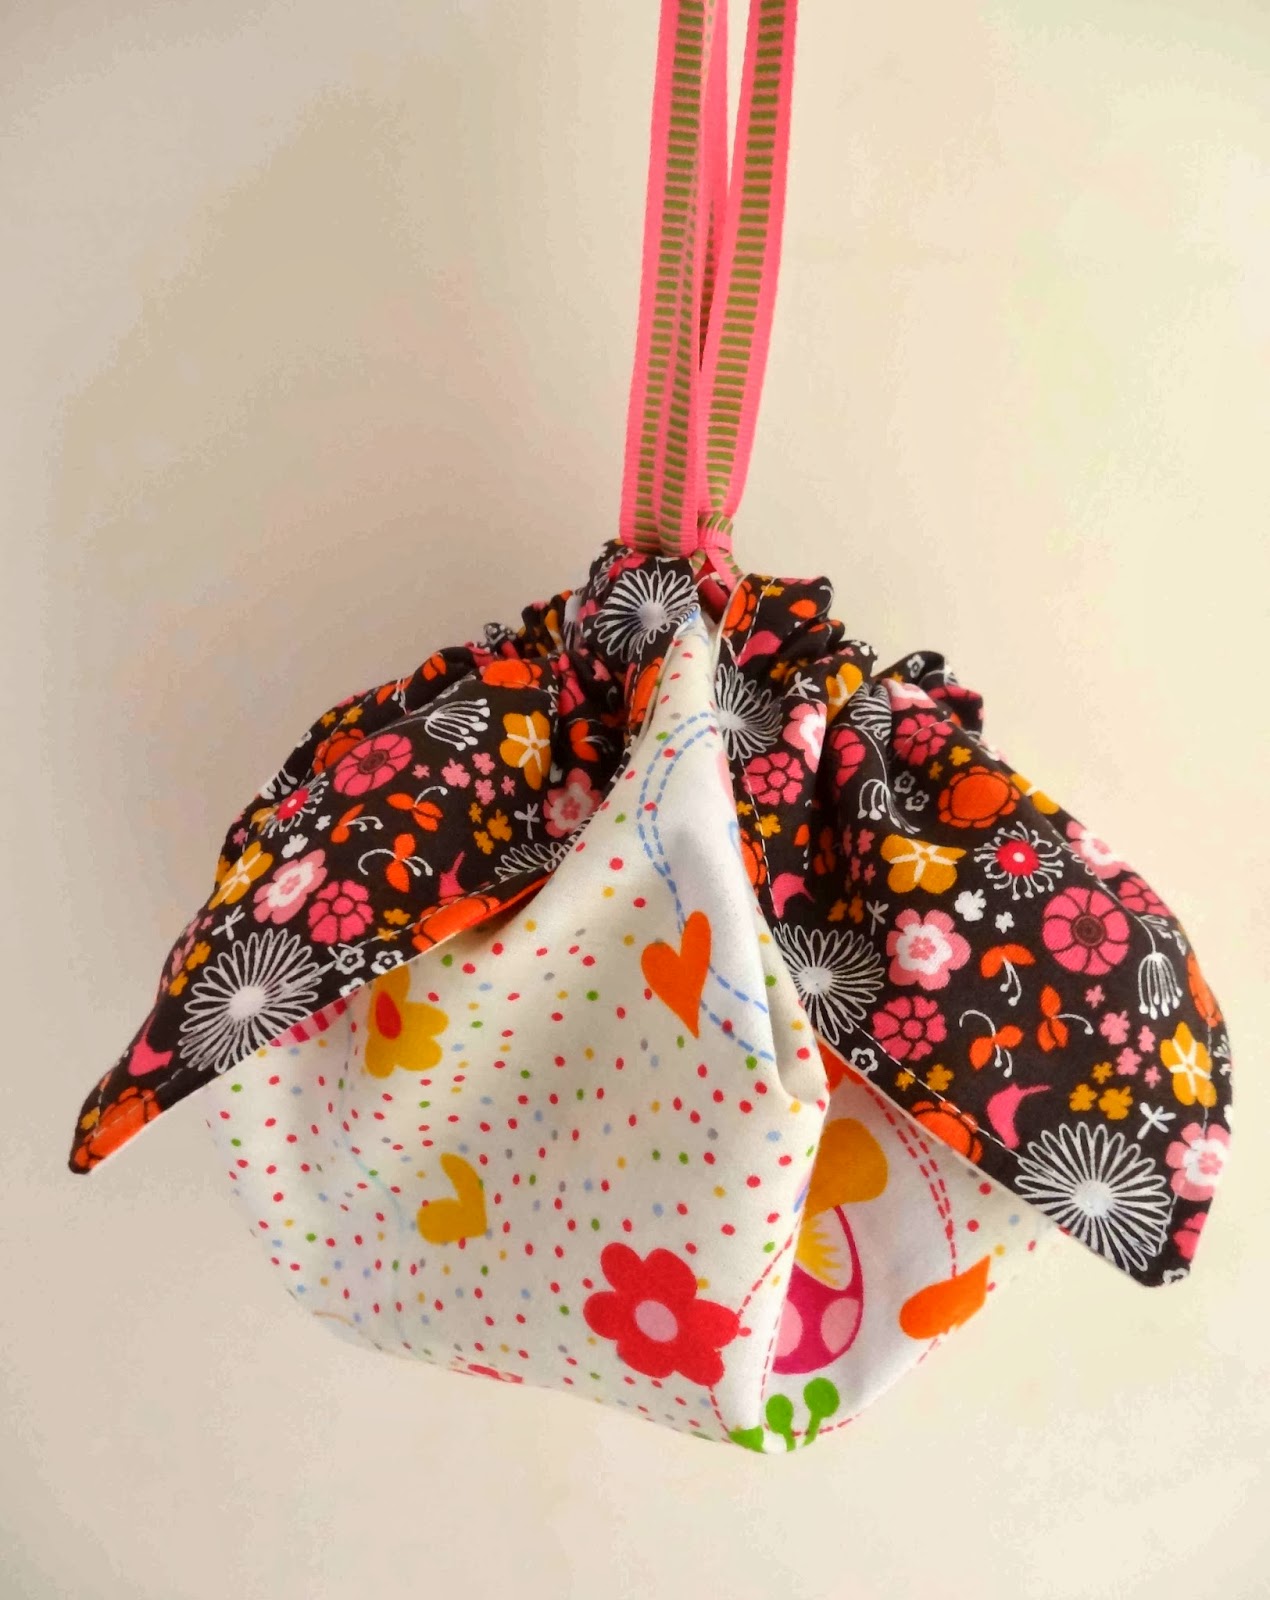
Easy Origami Gift Bag

I have a really long list of projects that I would like to make. Some are big and time consuming and some are small and quick. Last year I saw these origami fabric bags popping up all over the place (well, mostly on Pinterest!) and I finally sat down to make one. Because they looked quick.

They are easy peasy! Two fat quarters and a bit of ribbon are all that is needed (and, of course, a sewing machine).

There was no point in me doing a tutorial - there is already a fabulous one at the crafty mummy.

I think these would be wonderful for gifting home made treats like biscuits, toffee or popcorn balls.

I know this origami bag design has been around for a long time. Have you made one?
Related Posts Plugin for WordPress, Blogger...